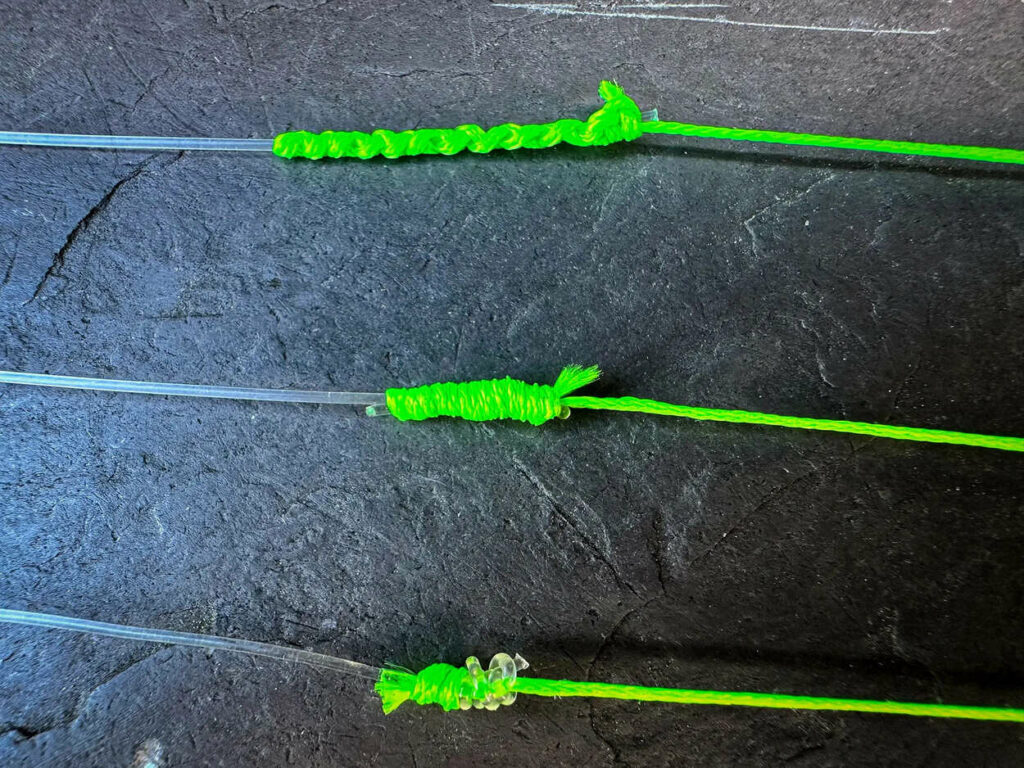
Tying a strong nylon braid knot is an essential skill for any lure angler. Whether you're lure fishing, surf-casting or carp fishing, mastering this technique will allow you to combine the advantages of braid and nylon. In this text, we'll guide you through the steps for making reliable splicing knots, even in difficult conditions. Let's discover the best connecting knots between your braid and your nylon.
Our article in brief:
- Several types of node are available for connecting braid to nylon.
- In our opinion, the Albright knot is the most versatile knot, suitable for a large number of applications
- Adapt your tie-in knot to the conditions and, above all, to your comfort level. What counts is your confidence in your knot.
- A good knot should be strong, fine and pass easily through the rings.
The different types of nylon braid knots
There are several effective knots for connecting a braid to a nylon or fluorocarbon leader. Each has its own characteristics and advantages, depending on the fishing situation. Here is an overview of the most popular knots:
- The Albright knot
- The Peixet knot (or conical knot)
- The FG node
- The J-Knot
- The Mahin knot
- The Grinner knot
Selo nous, the Albright knot stands out for its versatility and ease of use. Easy to tie, whether at home or on the water, it is also very reliable and adapts to a wide range of conditions. If your nylon is large in diameter (over 50/100), we recommend using the Peixe knot. This knot is better suited to larger thread diameters and fits better in the rings of your rod.
Finally, if you're looking for big fish (big pike or catfish) or you're going fishing in exotic waters, we advise you to use the FG knot. Even if this knot takes a while to tie, it has never failed us. During our many fishing expeditions, particularly in Cape Verde where we target trevally and amberjack, this knot has made all the difference. Choosing the right nylon braid knot will ensure you don't miss the fish of a lifetime. So go out and get ready!
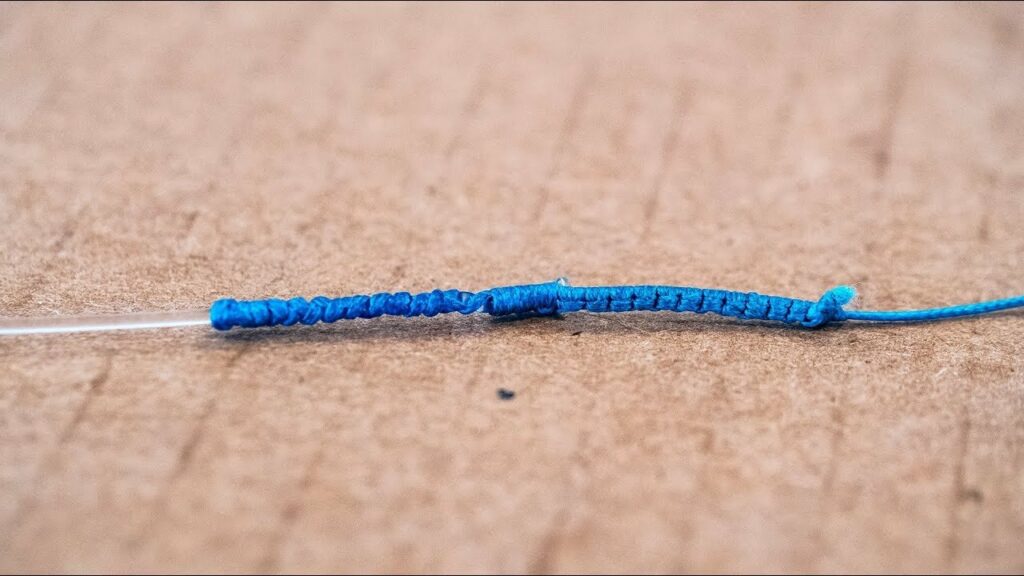
Making the Albright knot: step-by-step
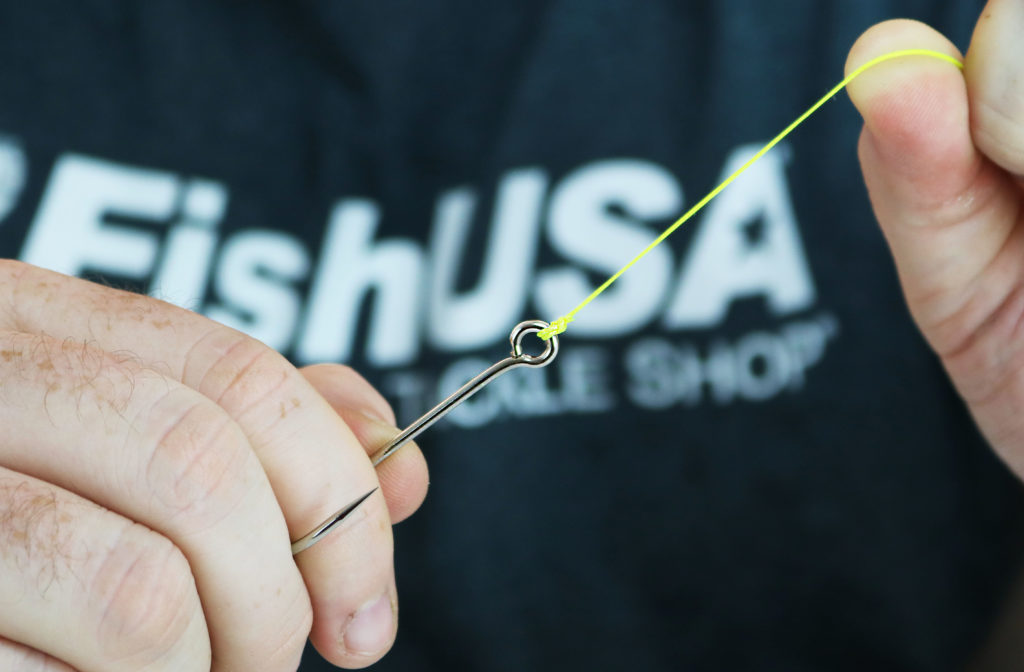
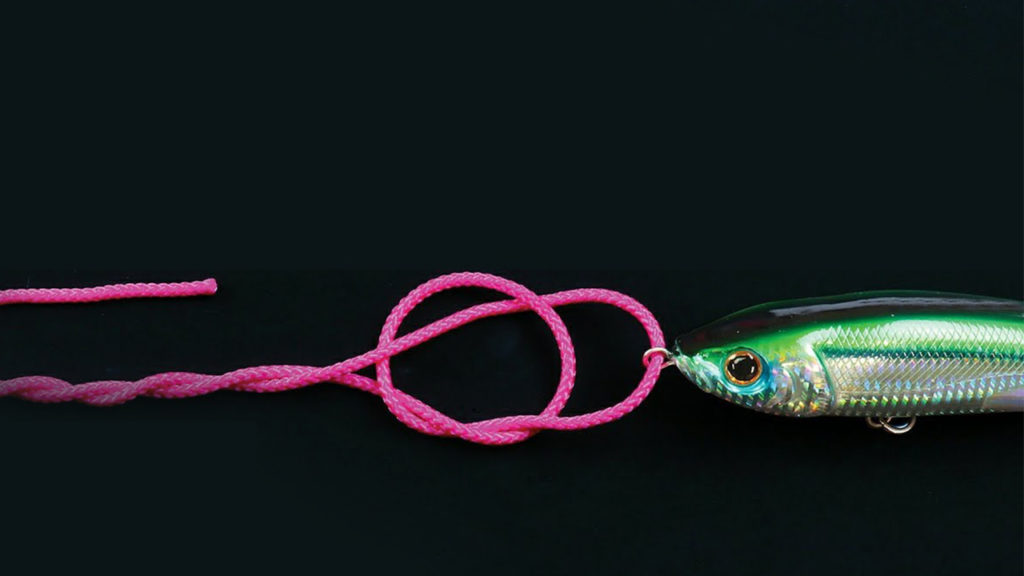
The Albright knot is our favourite choice for its reliability and ease of execution. Here's how to do it in a few simple steps:
- Form a loop with your nylon
- Pass the end of the braid through this loop
- Make about 10 to 15 turns with the braid around your nylon loop.
- Iron the end of your braid inside your curl
- Moisten your connector knot with water or saliva
- Tighten it at both ends
- Trim excess nylon and braid.
Click on the link below for images and videos of the steps involved in this connection node: See the albright knot in detail
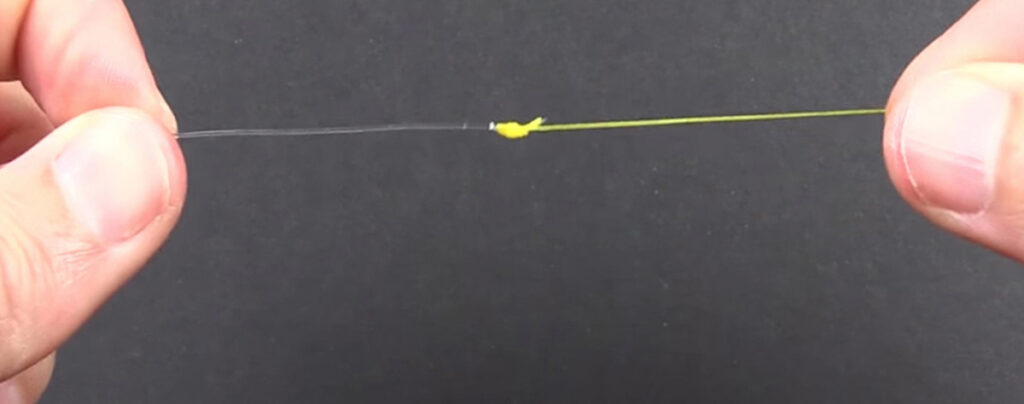
Don't hesitate to practise at home in the peace and quiet of your own home. for greater speed and efficiency. This will help you to be more efficient once you're on the water and avoid any setbacks. Mastering the Albright knot will save you precious minutes.
Tips for a perfect nylon braid connecting knot
Here are a few tips on how to achieve the best nylon braid connection knot:
- Adapt the number of revolutions to the diameter of your nylon. We generally use between 10 and 20.
- Always test the strength of your connecting knot before launching.
- Above all, choose the knot with which you are most comfortable and in which you have the most confidence.
A knot is well made when it is :
- Solid
- End
- Passes easily through the rings
| Node type | Benefits | Recommended use |
|---|---|---|
| Albright knot | Versatile and easy to make | Lure fishing in all conditions |
| Peixet knot | Discreet and suitable for large diameters | Fishing for big fish or in obstacles |
| FG knot | Very fine and suitable for large fish | Fishing for exotics or very large fish |
Perfect your technique
The more you practise, the more effective you'll become. Here are a few tips to help you make progress:
- Train regularly, especially at home
- Vary the diameters and types of wires to suit all situations
- Get inspired by other anglers and watch videos Youtube !
In conclusion, tying a solid nylon braid knot is an art that takes practice to perfect. By mastering this technique, you'll optimise your chances of success and take full advantage of the combined benefits of braid and nylon. So get to work, and happy fishing!

