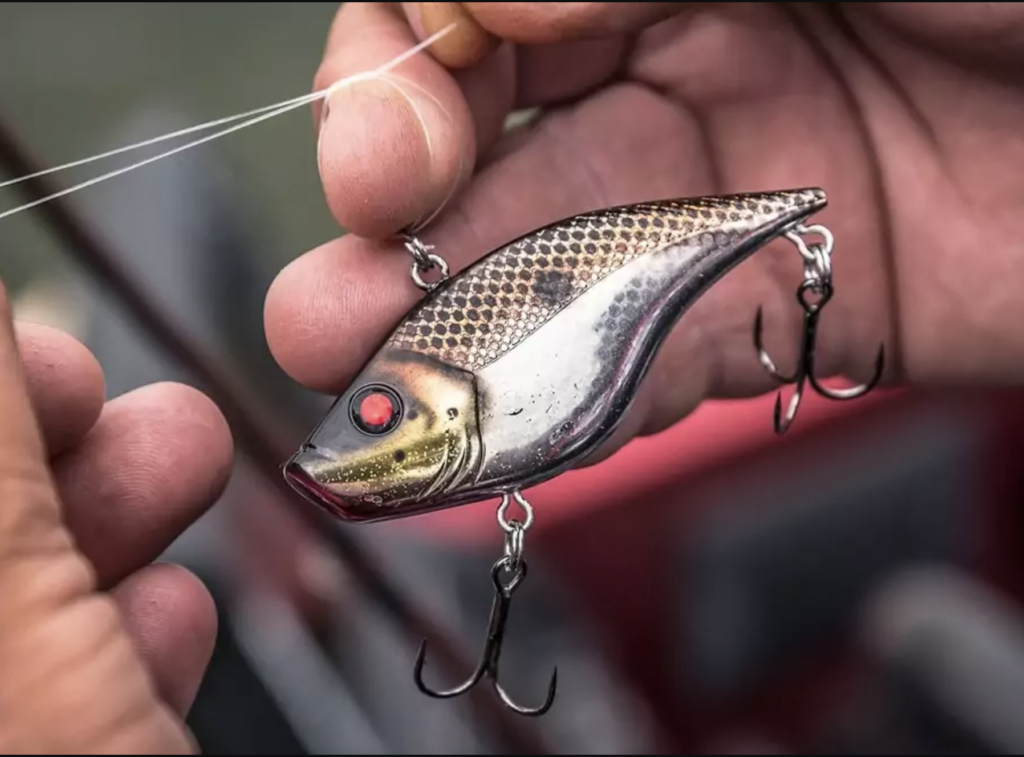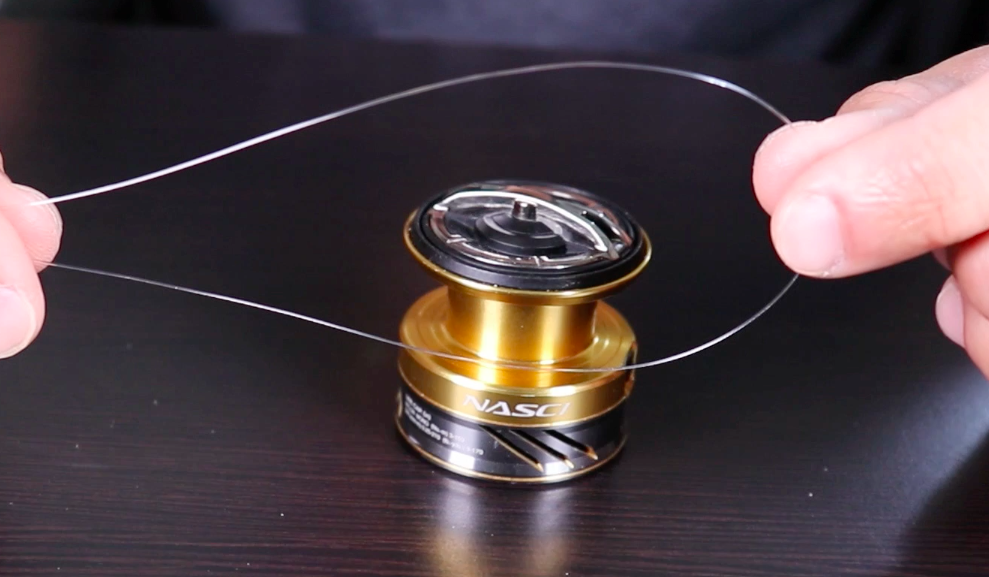
The reel braid knot is the basic knot for lure fishing. The first knot you need to master, it connects your reel directly to your line body. Our experience on lakes and rivers has taught us the importance of a reliable knot to ensure the success of your fishing trips. Here are the essential steps for creating the perfect reel braid knot
Our article in brief:
The reel braid knot is the first knot an angler should know how to master. Here are the key points to remember:
- The main reel braid knot is the tree node
- A good mouliner braid knot must be Sliding, solid and compact
- The correct filling of the reel is important to avoid wigs
Types of knots for attaching your braid to your reel
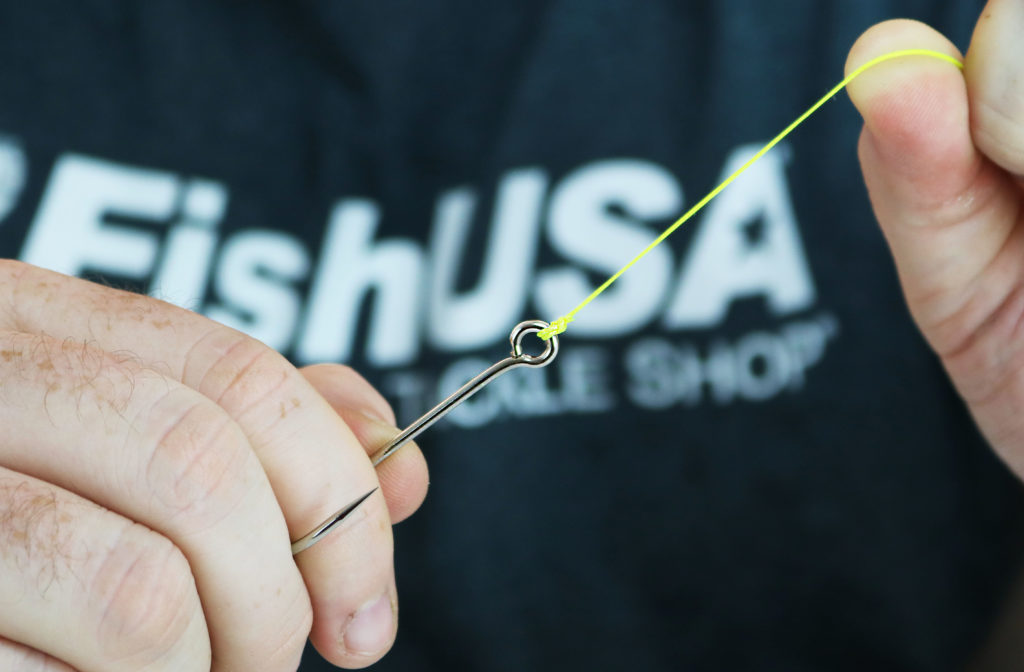
There are several knots you can use to securely fasten your braid to the spool of your reel. Of course, each knot has its advantages and disadvantages. Your choice of reel braid knot will therefore depend on your preferences and your level of expertise. Here are the three most commonly used knots:
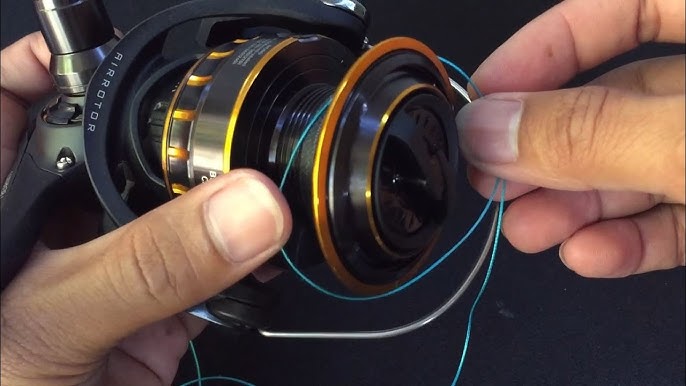
The tree node is the node A basic tool for connecting braid to a reel. The reel is appreciated for its simplicity and efficiency. It is often the first choice of novice anglers. Here are the steps for making an arbor knot:
- Pass your line body around the spool of your reel
- Tie a knot at the end of your braid. If your braid is thin, make several layers and cut off the excess.
- Make a new knot around your braid
- Tighten everything and pull on your line body until the 1st knot touches the second.
Here are the arbor knot steps on video:
Other types of node exist, such as the multi-turn slip knot. It offers increased safety and is ideal for sea or exotic fishing. Here's a video explaining it:
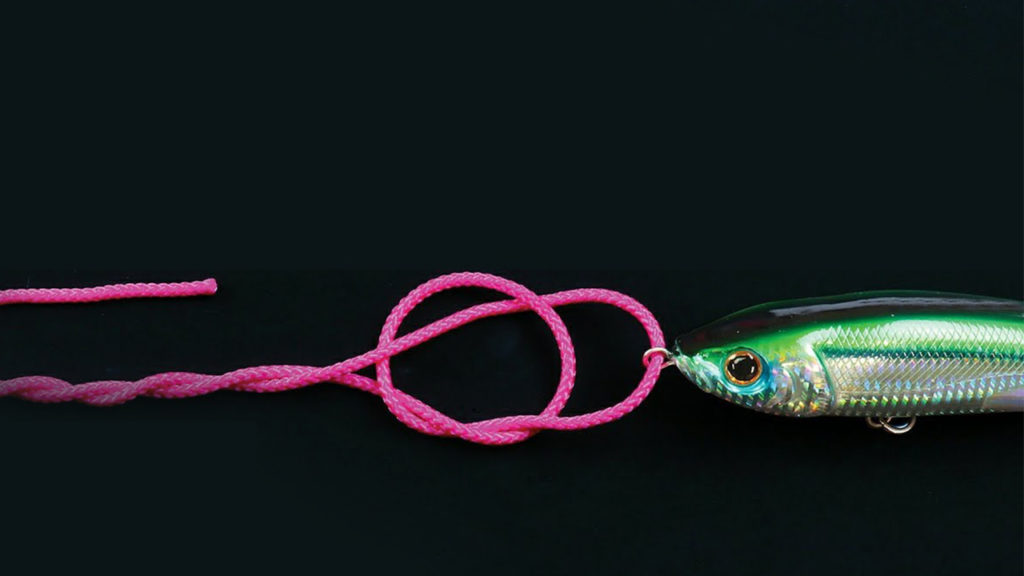
The 5-pass loop knot combines strength and finesse, perfect for experienced anglers.
What is an effective reel braid knot?
A reel braid knot We believe there are a number of key criteria that must be met in order for it to be effective. Here are the three main features to look for:
- Sliding : for effective hugging
- Solid : to resist fighting fish
- Low volume : for a clean winding
A slip knot will adjust perfectly to the tension applied. This prevents your braid from slipping. The solidity of the reel braid knot is also essential, especially when targeting species such as tuna or tarpon. Last but not least, a reel knot should not be too bulky. This will ensure a clean wrap on the spool, reducing the risk of wigging.
Here is a table comparing the different types of nodes and their characteristics:
| Type of reel braid knot | Sliding | Solidity | Volume |
|---|---|---|---|
| Tree knot | Medium | Good | Low |
| Solid knot with several turns | Excellent | Very good | Medium |
| 5-pass loop knot | Good | Excellent | Low |
How can you avoid wigging and optimise the filling of your reel?
The correct filling of your reel is just as important as the choice of knot between it and your braid. In fact, a coil too full of braid can cause problems such as wigs and untimely knots. Here are our tips for optimal filling:

- Stop at the first silver edge of the reel
- Tighten the braid when filling
- Pay particular attention to the winding of the first turn.
- Fill slightly less than with nylon
The use of a nylon backing under the braid is a technique we strongly recommend. It prevents the braid from spinning and improves the grip on the spool.
As you can see, whether you're a beginner or a seasoned fisherman, a well-tied knot and a correctly filled reel are the foundations of a successful session. So don't hesitate to practise and experiment with different methods to find the one that suits you best.